How to Make a Yeast Starter!
Here's our guide to how and why you should make yeast starters for your brews, but if you'd also like to learn how to culture yeast from previous batches check out our 2 part series on culturing yeast. Part one is here for you below!
Why should I make a yeast starter?
Yeast starter's are a super valuable tool in the brewing (and baking) world that helps ensure a strong, healthy yeast population, faster fermentation, and improved overall quality and consistency in your final product. It's particularly beneficial for more challenging recipes and high-gravity beers and top prevent the chance of other wild yeasts, bacteria or even fungi from infecting your batch!
More than that here's a few great reasons to make a start for your beer.
- Ensure Adequate Yeast Population: A yeast starter helps you increase the population of active and healthy yeast cells before adding them to your main batch. This is especially important when brewing high-alcohol or complex beers where a larger yeast population is needed to ferment the sugars effectively.
- Faster Fermentation: With a well-prepared yeast starter, the fermentation process can begin more quickly. This reduces the lag time between pitching the yeast and the start of fermentation in your primary batch, which can help prevent potential contamination issues.
- Reduced Risk of Off-Flavors: A yeast starter allows the yeast to undergo a growth phase, promoting a healthy yeast population. Healthy yeast is less likely to produce unwanted off-flavors or aromas, contributing to a cleaner, more consistent final product.
- Consistency: Making a yeast starter ensures consistency in your brewing or baking process. By using a known quantity of yeast cells, you can more accurately predict the fermentation time and results.
- Improved Attenuation: Yeast starters can help improve the yeast's ability to ferment the available sugars to completion, resulting in a beer with better attenuation and a drier finish, or bread with a better rise and crumb structure.
- Yeast Viability: Yeast starters allow you to assess the viability of your yeast before pitching it into your main batch. If the yeast does not ferment in the starter, you can replace it with fresh yeast rather than risking your entire batch.
- Economical / Stretching the Budget!: Making a yeast starter from a smaller initial packet of yeast can save you money in the long run, as you can stretch your yeast supply across multiple batches.
- Adaptation to Brewing Goals: A yeast starter gives you the flexibility to tailor the yeast's characteristics to your specific brewing goals. You can adjust the starter's size, temperature, and other factors to influence yeast growth and flavor profiles.
- Better Flavor Profiles: For certain beer styles, like lagers and Belgian ales, yeast starters can help promote the development of desirable flavor compounds and esters that contribute to the style's unique character.
- Worry-Free Pitching: Using a yeast starter can give you peace of mind, knowing that you've taken steps to ensure a healthy and active yeast population in your batch, reducing the risk of stuck fermentations or other fermentation issues.
So How do we make one?
Step by Step Process
- DME (dry malt extract) at a ratio of approx. 100g per 1L water (3.5 oz per 33 fluid ounces) for gravity of approx. 1.040 some unfermented wort kept cold and sanitary from a previous brew day
- 70g of table sugar per 1L water (2.5 oz per 33 fluid ounces) – however, it is best to use malt sugar (wort / DME) whenever possible to reduce the chance of shocking the yeast with a different food source from starter to wort pitching
- if you are using DME (dried malt extract) it is best to boil the starter for 10-15 minutes to kill any microbes that may be present in the powder from the factory or packaging
- after boiling the starter cool it down quickly in an ice/water bath until it reaches approximately 25°C (77°F)
- once the starter is cooled to pitching temperature add your yeast
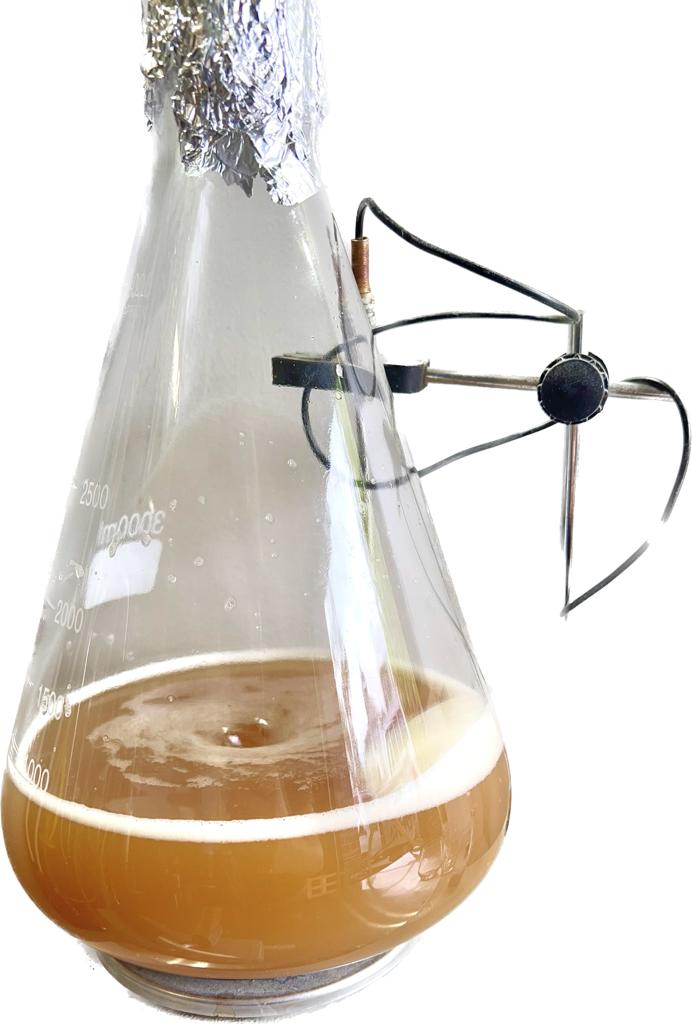
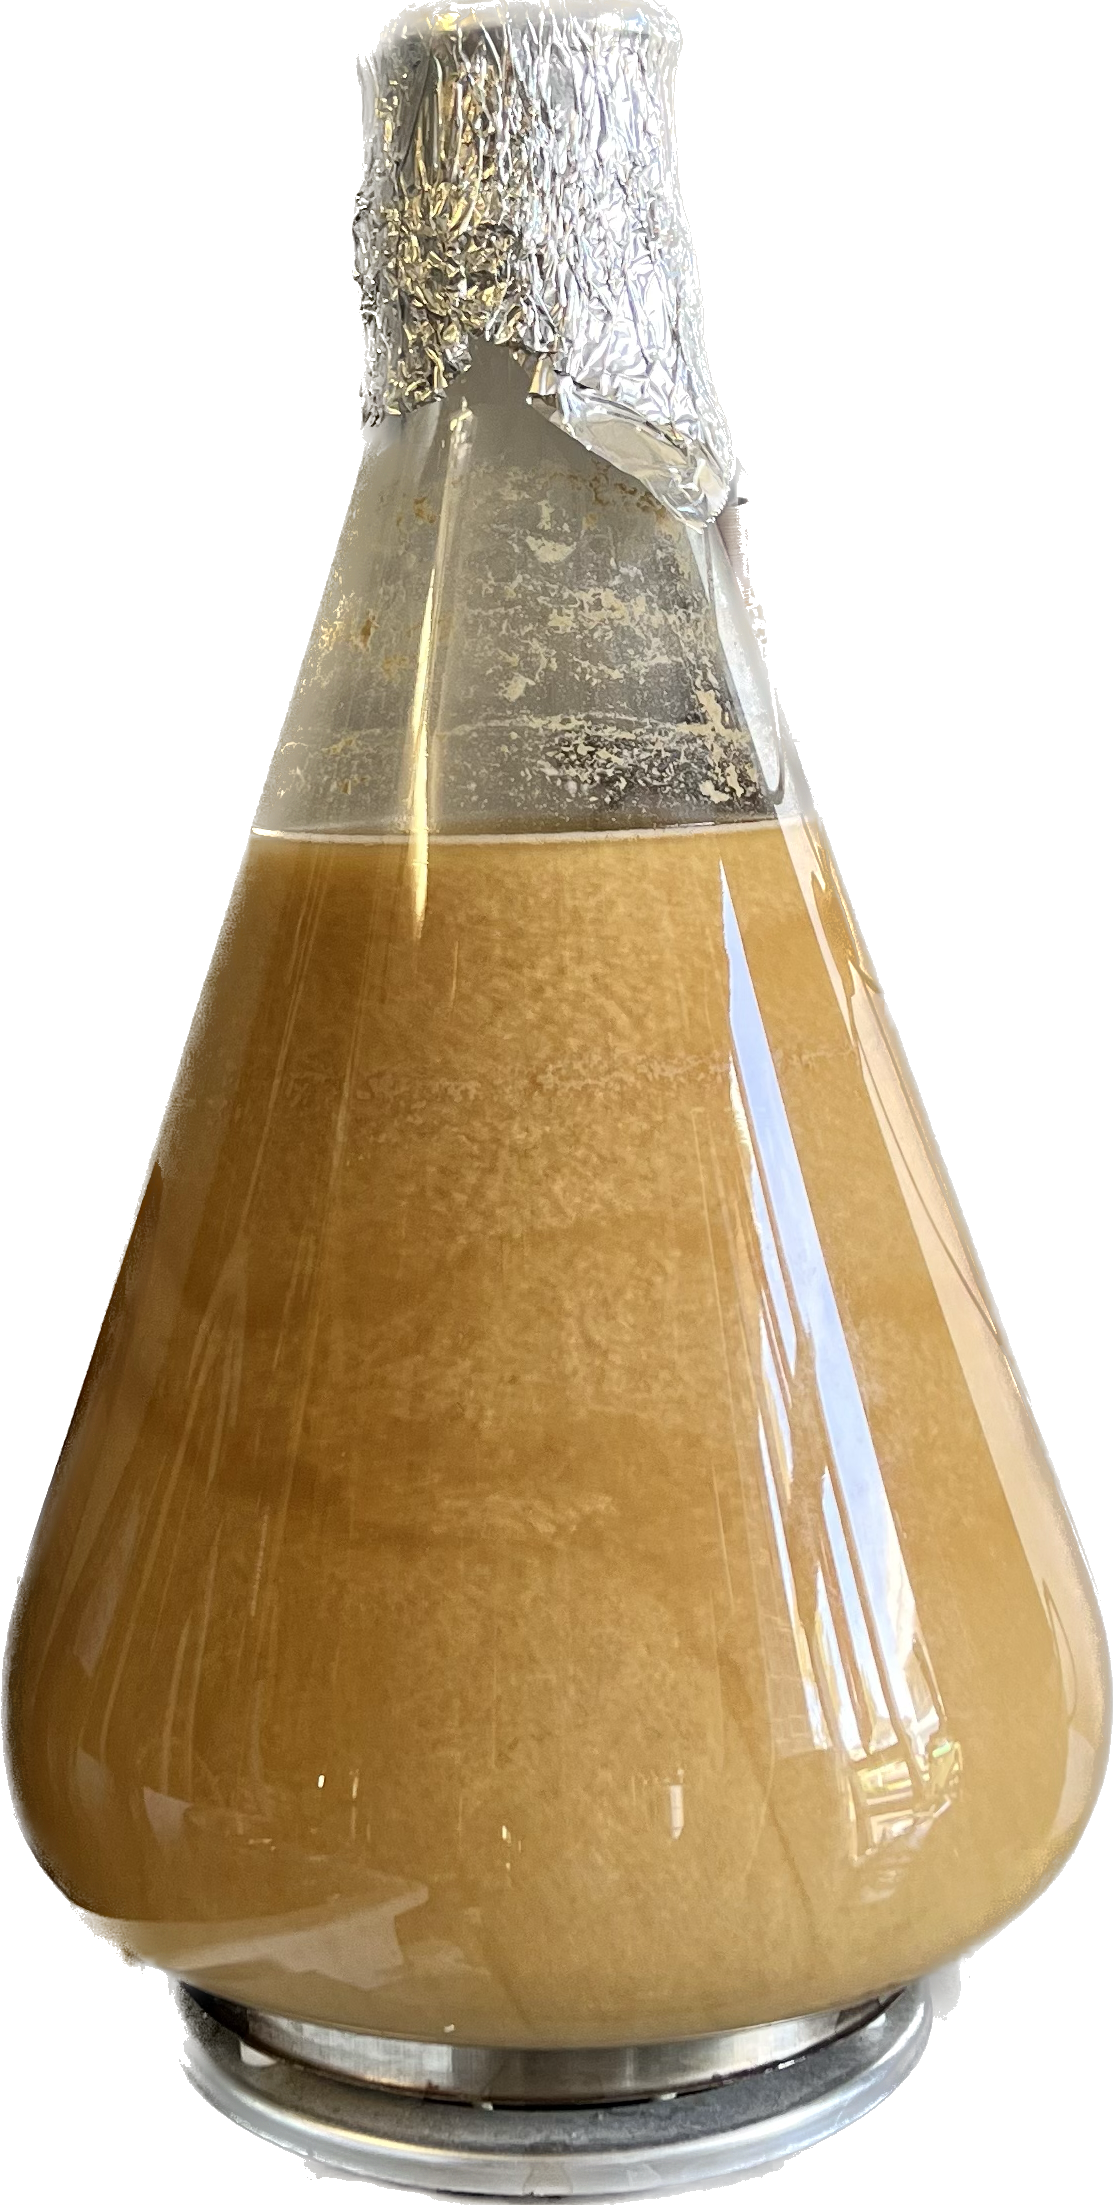
- cover the vessel with some tin foil, or a foam bung/stopper, you don't want the vessel to be airtight, it still needs oxygen to promote healthy yeast growth, it just needs to be covered to prevent bugs or other things in the air from infecting your starter!
- If you have a stir plate, set the starter on it a day before you brew with the stir plate mixing the start with a light whirlpool (it doesn't need to be too aggressive!) to help keep yeast active and oxygen getting pooled into the starter
- if you dont have a stir plate just give the jar/vessel a gentle swirl every now and then over the next 24 hours to keep the yeast active and in suspension
Don't want to make a starter? Try yeast re-hydration
To simply rehydrate yeast (not a starter) Add yeast to approx. 10 times as much room temperature water as the weight of the yeast e.g. 10g yeast in 100 ml water (0.35 oz yeast in 3.5 fluid ounces water)